User Setup
In order to perform operations in company in Business NXT using GraphQL from a service (using an access token with client credentials grant type), you must perform in Business NXT the registration steps described below.
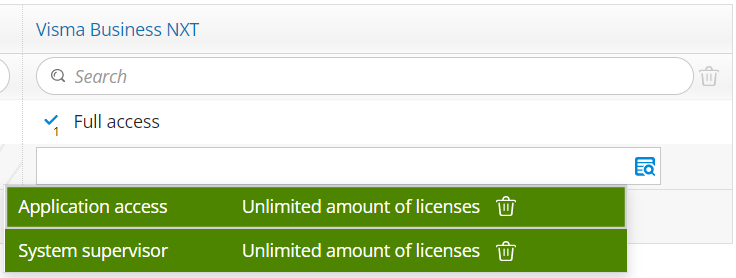
In order to be able to add users to the User table, your Visma.net user must have the Application access and System supervisor roles assign in Visma.net Admin.
The setup consists of the following steps:
-
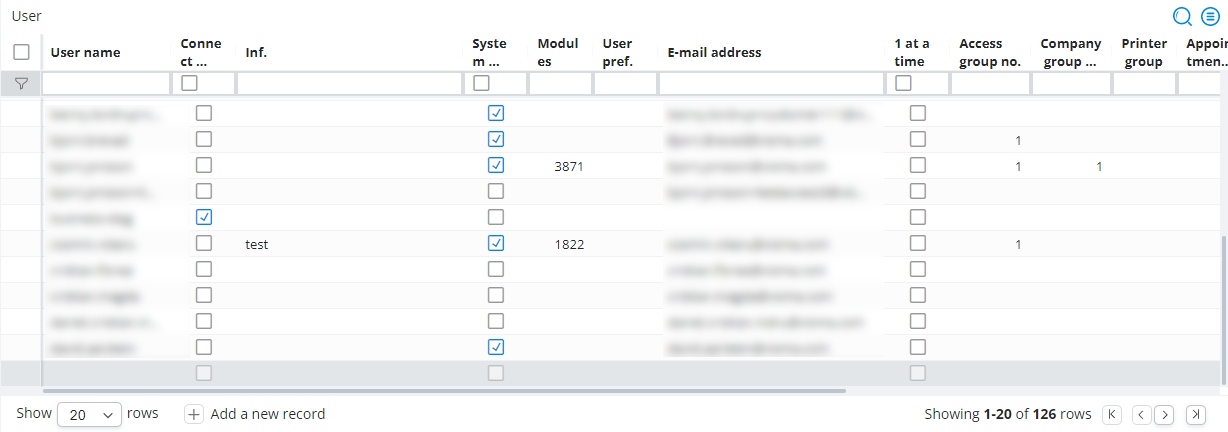
Create a new layout and add the User table.
-
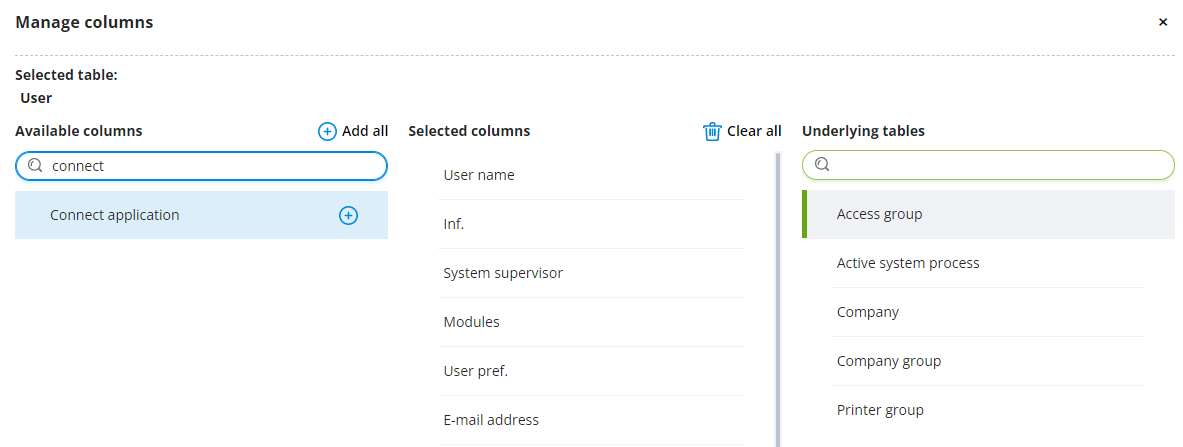
Unhide the Connect Application column from this table.
-
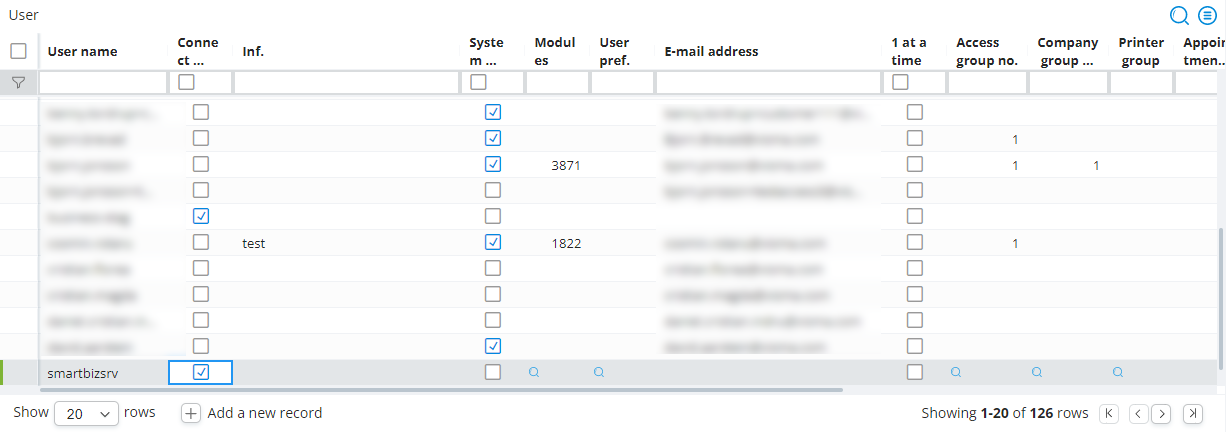
Add a new user having the same name as the client identifier (client_id) of your newly registered service. You must check the Connect application checkbox before saving the new user.
-
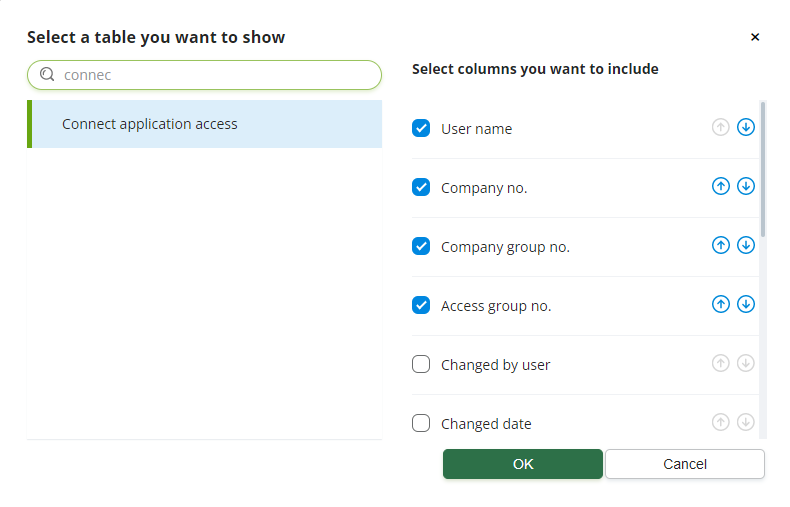
Either create a new layout or use the same layout and add the Connect Application Access table.
-
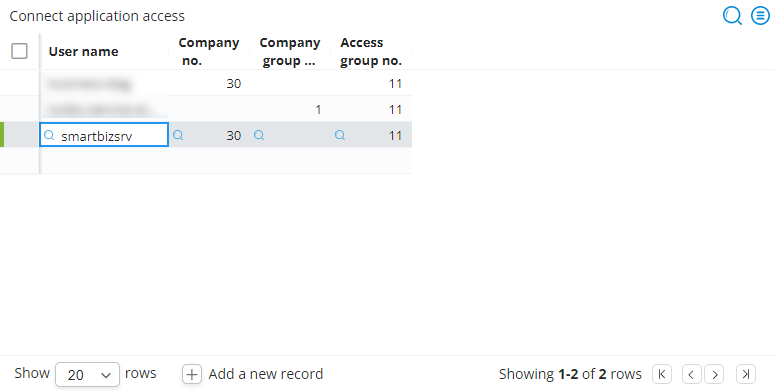
Add the newly created user to this table. Select the company to which you want to grant access to your service by entering its number in the Column no. field.
-
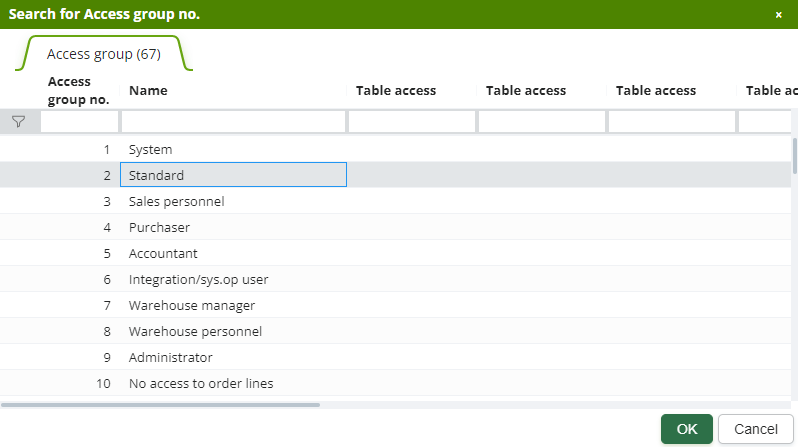
Select the desired access group that defines the access rights for this company.
-
Save the changes to the table.
You must repeat the steps 5 and 6 for each company to which you want to grant access for your service.