Application registration
Registering a web application in the Visma Developer Portal is very similar to registering a service application, although some options are different.
You must follow these steps:
Logon to Visma Developer Portal.
From the menu, select My Applications and then press the Add applications button.

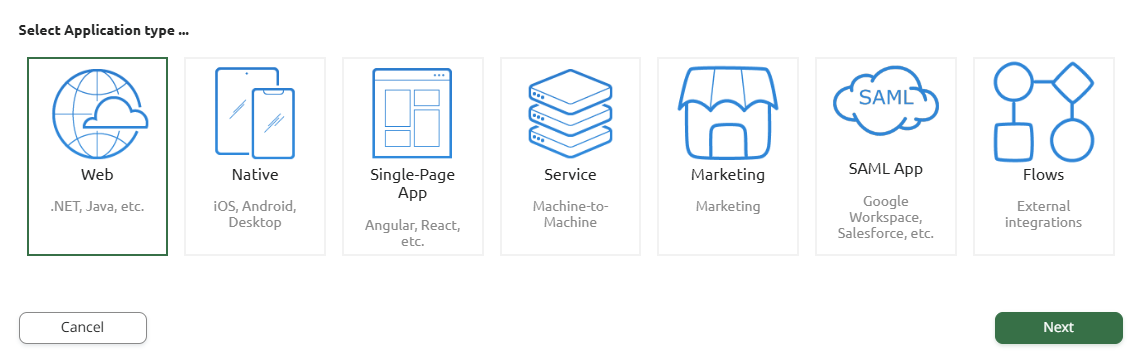
Select the Web application type.
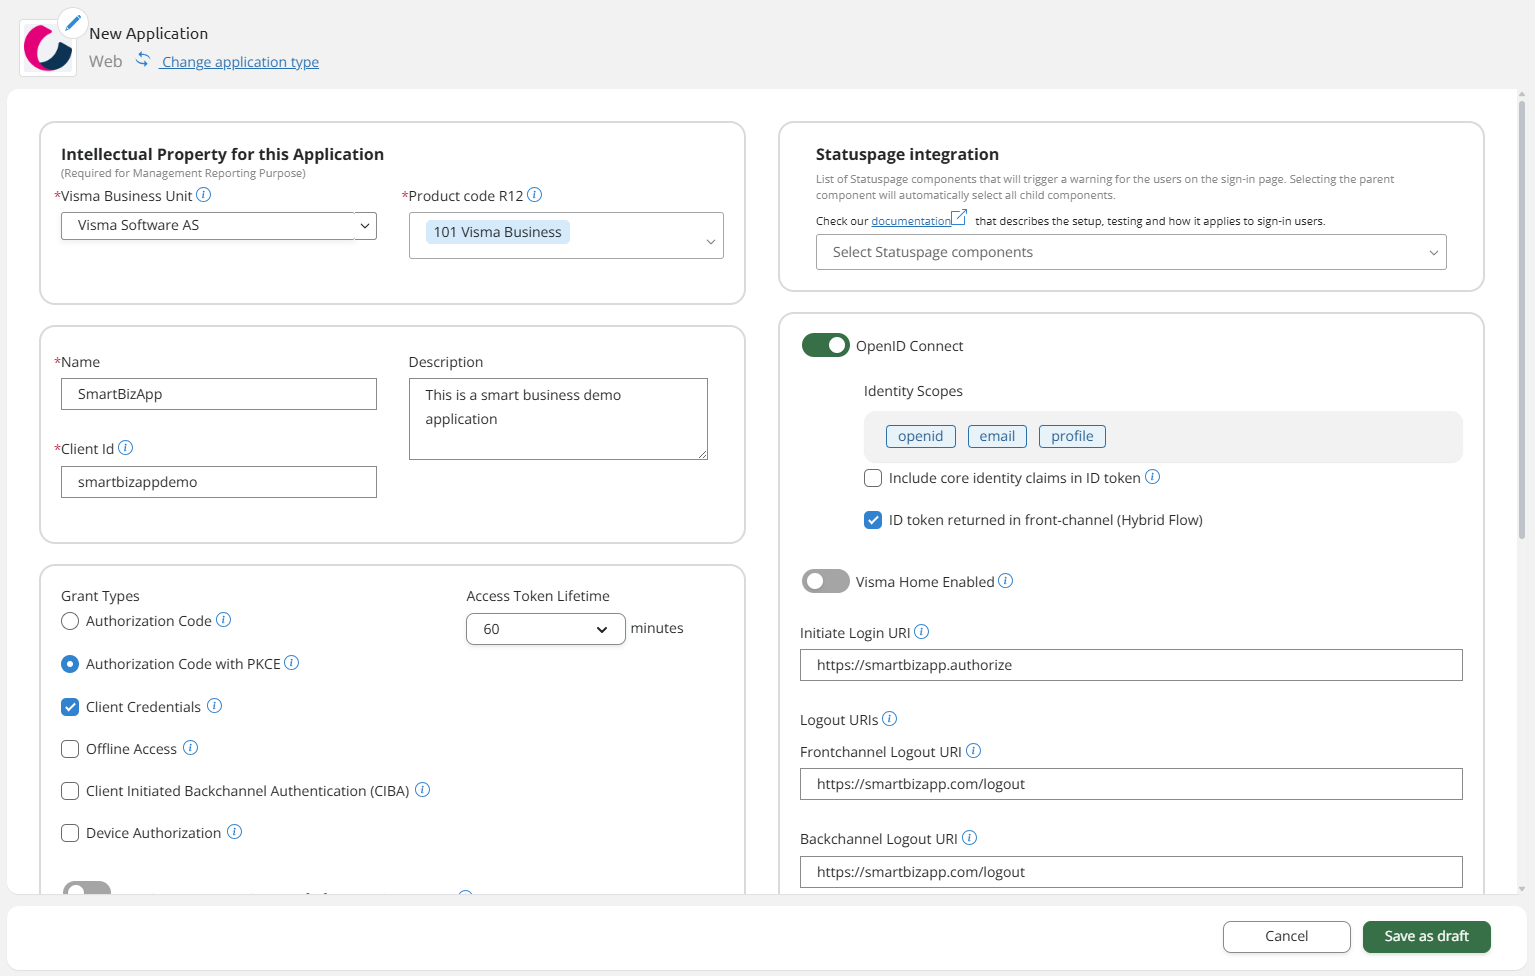
Fill in the registration form. You must select an application name, a unique client identifier, a description of your application, as well as URLs for the authentication workflow. From this form, you can customize application policies and branding. When completed, you must press the Save as draft button and then Send for approval.
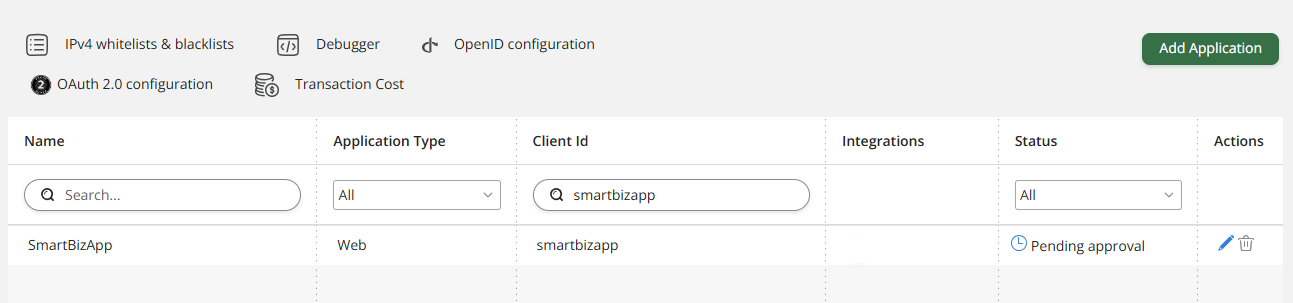
Your application must be approve by Visma before you can start using it. Before approval, it will display the Pending approval status.
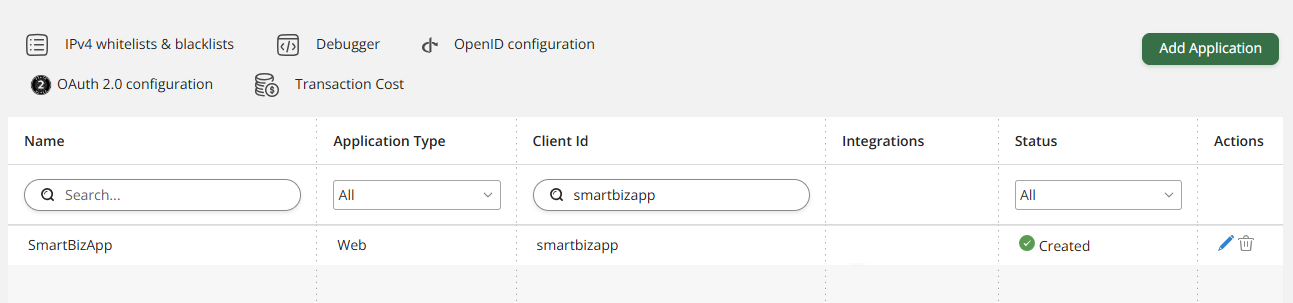
After the approval, the application status will change to Create and you can start using it.
After the approval process complete, you can add integrations to your application. See GraphQL API integration to learn how to do that.
Application Credentials
If you plan to use an web application with client credentials (performing the OAuth flow using the client credentials grant type), this requires both a client ID and a client secret. In this case, you also need to generate a client secret.
Secrets can be generated and deleted from the Credentials tab in Visma Developer Portal.
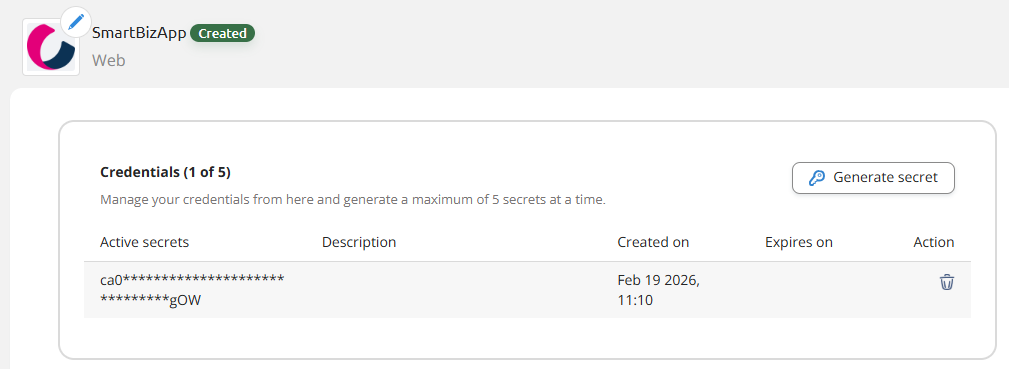
A secret is only visible when it is generated after which you can no longer read it. You must copy and preserve it in a secure place.
Local App Development
For the development of your application on local machines, you must register a local URL for login and redirect. The use of localhost is not supported in the Visma Developer Portal but app.local can be used instead. Assuming your application runs locally on the 12345 port, use the following configuration:
Initiate Login URI:      https://app.local:12345/
Frontchannel Logout URI: https://app.local:12345/logout
Redirect URIs:           https://app.local:12345/signin-oidc