Create connection to Business NXT
Business NXT / Business NXT Group Reporting
For you as a Business NXT customer, there are two ways to connect to Business NXT, depending on your needs in the OneStop Reporting portal.
- Business NXT: This method retrieves data directly from Business NXT, and the data is always up-to-date. Choose this connection method if you are not going to run reports with consolidation. NOTE: This is the recommended way to connect to Business NXT.
- Business NXT Group Reporting: This method uses the API and requires setting up data import jobs that transfer data at given intervals. Choose this connection method if you need to run group reports.
NOTE: You must be a System user in Business NXT to be able to create connections.
Method 1 - Business NXT
The first time you log in to OneStop Reporting, you will get a wizard that guides you through the process of setting up a connection to Business NXT.
-
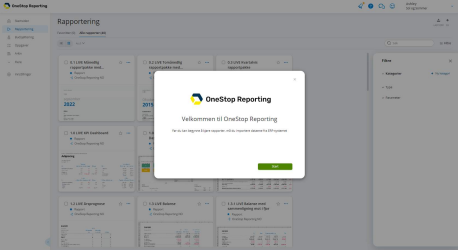
In the Welcome to OneStop Reporting wizard, click Start.
NOTE: If you have already set up OneStop Reporting for another system (for example, Visma Business), you must go to the Data connection module to set up a new connection.
-
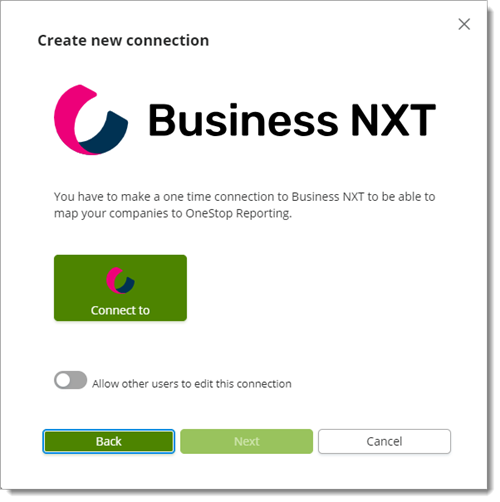
In the Create New Connection dialog, click Connect. If you are logged in to Visma Home, authentication takes place automatically.
-
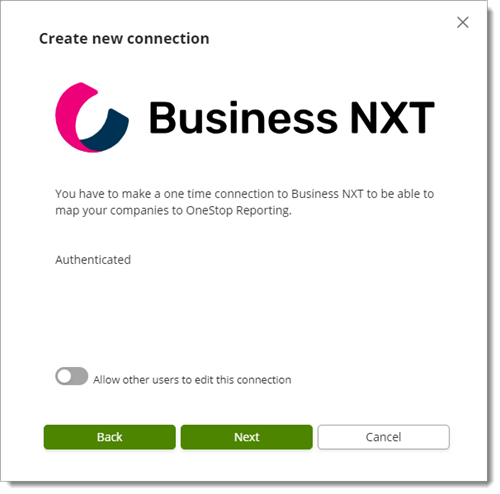
Click Next.
NOTE: If you want other users to be able to edit the connection, turn on the Allow other users to edit this connection switch. You should be careful about enabling this switch, as this allows any user in a role with the Manage Data Connections permission to edit the connection and see all companies in this connection.
-
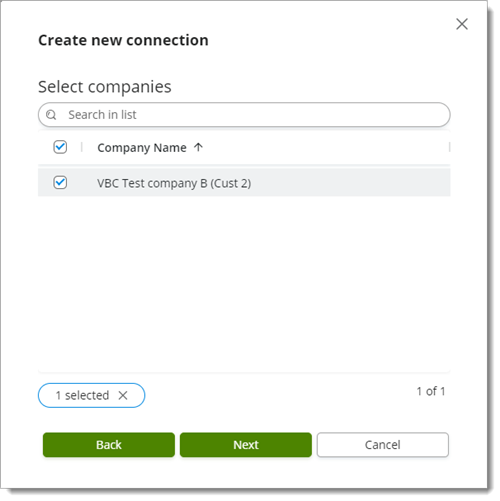
Select companies and click Next.
-
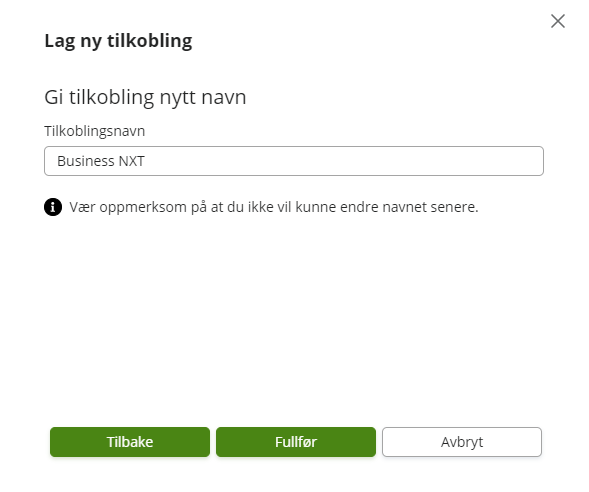
In the Connection name field, enter a name for this connection.
-
Click Complete.
Method 2 - Business NXT Group Reporting
The first time you log in to OneStop Reporting, you will get a wizard that guides you through the process of setting up a connection to Business NXT Group Reporting.
NOTE: If you already have OneStop Reporting set up for another system (for example, Visma Business), you must go to Administration and navigate tom the tab Connections and click Actions to set up a new connection.
-
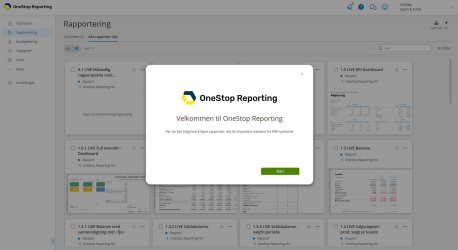
In the Welcome to OneStop Reporting wizard, click Start.
-
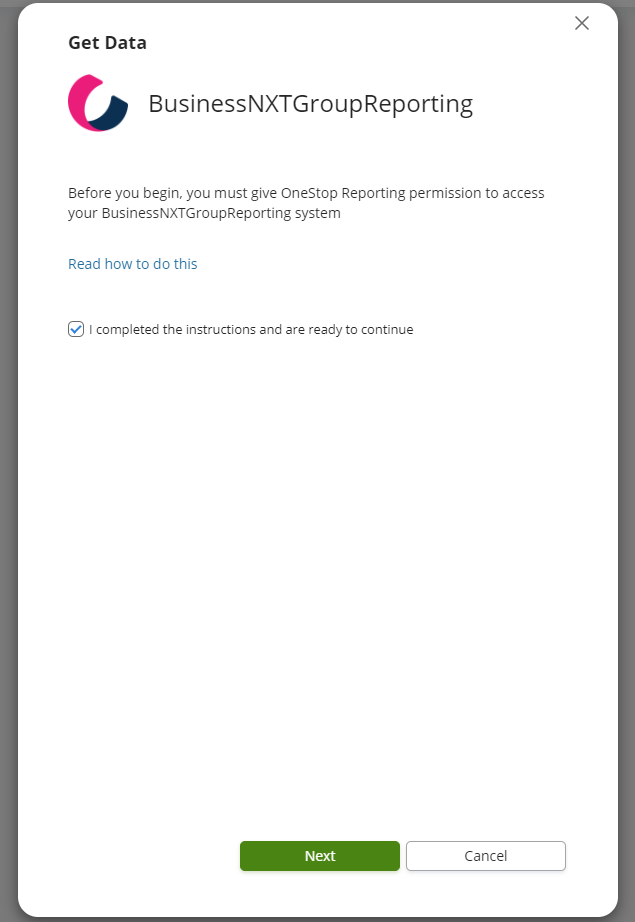
Click the link to read about how to give OneStop Reporting access to your system.
-
Select the I completed the instructions and am ready to continue box and click Next .

-
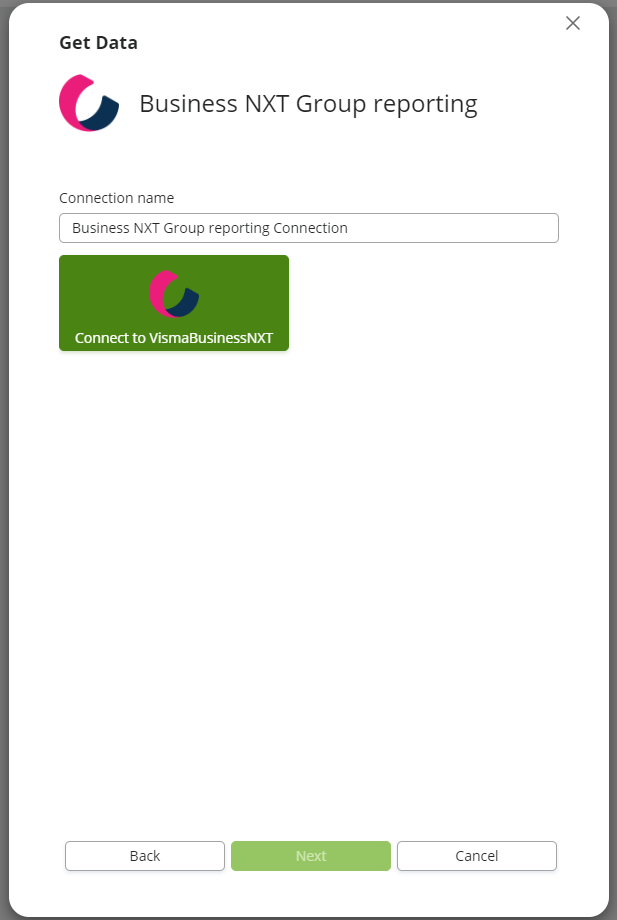
In the Connection name field, enter a name for this connection.
-
Click Connect to Business NXT and click Next.

-
Carry out the authentication required by your system, and click Next.
-
Select companies and click Start import.

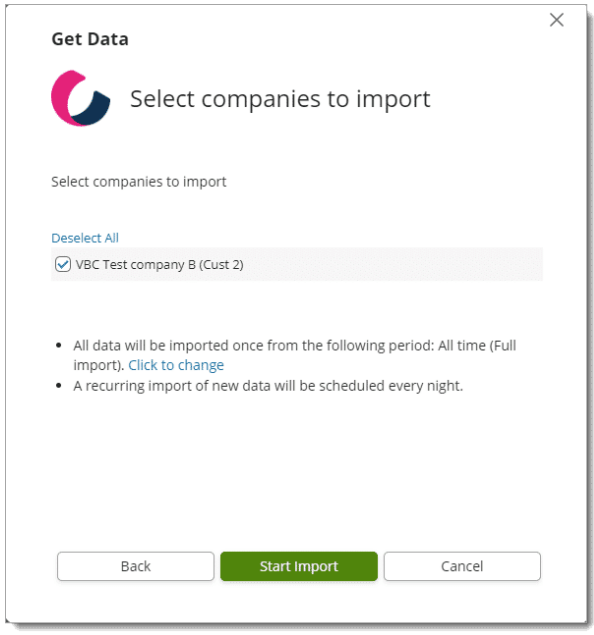
A link to Business NXT has now been created and data from the company(s) you selected can be used in reports and budgets.
Data import jobs
Three data import jobs have also been automatically created in the portal:
- Data import from the beginning . (This import job is run once the first time you log into the portal.)
- Data import from the beginning of the year . (You can manually run this job when needed.)
- Data import from the last 5 days . (This job is scheduled to run every night.)