Create connection (for on-premise ERP systems)
NOTE: Before you can create a connection, you must have the OneStop Reporting Cloud Agent installed on your server. For more information, see OneStop Reporting Cloud Agent. Installing and configuring the Cloud Agent is usually done by an administrator. It may require special knowledge of your on-premises servers, as well as your ERP system.
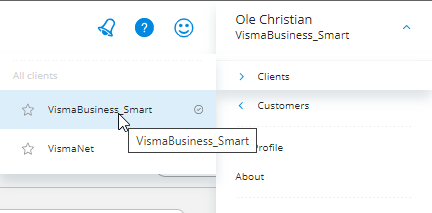
IMPORTANT: Make sure you are in the appropriate client before you create a connection. To change client;
- Click your user name button in the upper right corner, mouse over Client, and click the client. If you have more than one customer (top level), you must select the appropriate Customer from the list to see the underlying clients.
- Open Data connection, and click
 New.
New. - In the Enter pairing key field, enter the pairing key you received when you installed the Cloud Agent.
Don’t have your pairing key?
If you were not the person installing the Cloud Agent, you must contact the person who installed it for you.
NOTE: If you already have created a connection and want to create a new one, you can find and copy the pairing key from an existing connection; click the connection and click
Edit.
3. Click Next.
4. In the Companies list, ✅select the company/companies you want to create a connection to.
5. Click Next.
6. In the Connection name field, enter a name for the connection. NOTE: You cannot change the connection name later on.
7. Click Save and continue.
8. Under Select voucher provider, select;
a. None, if you will not be using vouchers.
b. Click Finish.
OR
a. Your voucher provider, such as Visma Document Center, if your company uses this service.
b. Click Next.
c. In the Document center path field, enter the file path where your vouchers are stored. NOTE: Make sure the path matches what you have given access to when you installed the Cloud Agent.
d. Click Finish.