Create a connection to Business NXT Group Reporting
Create a connection to Business NXT Group Reporting
NOTE: The user must be a System user in Business NXT to be able to create a connection and set up data import jobs.
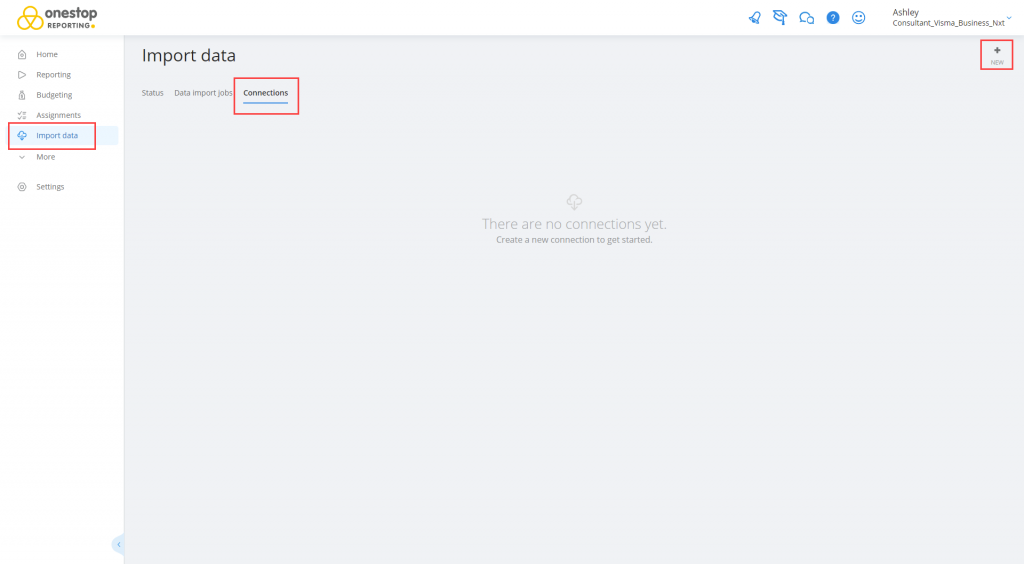
Click Import data in the OSR portal.
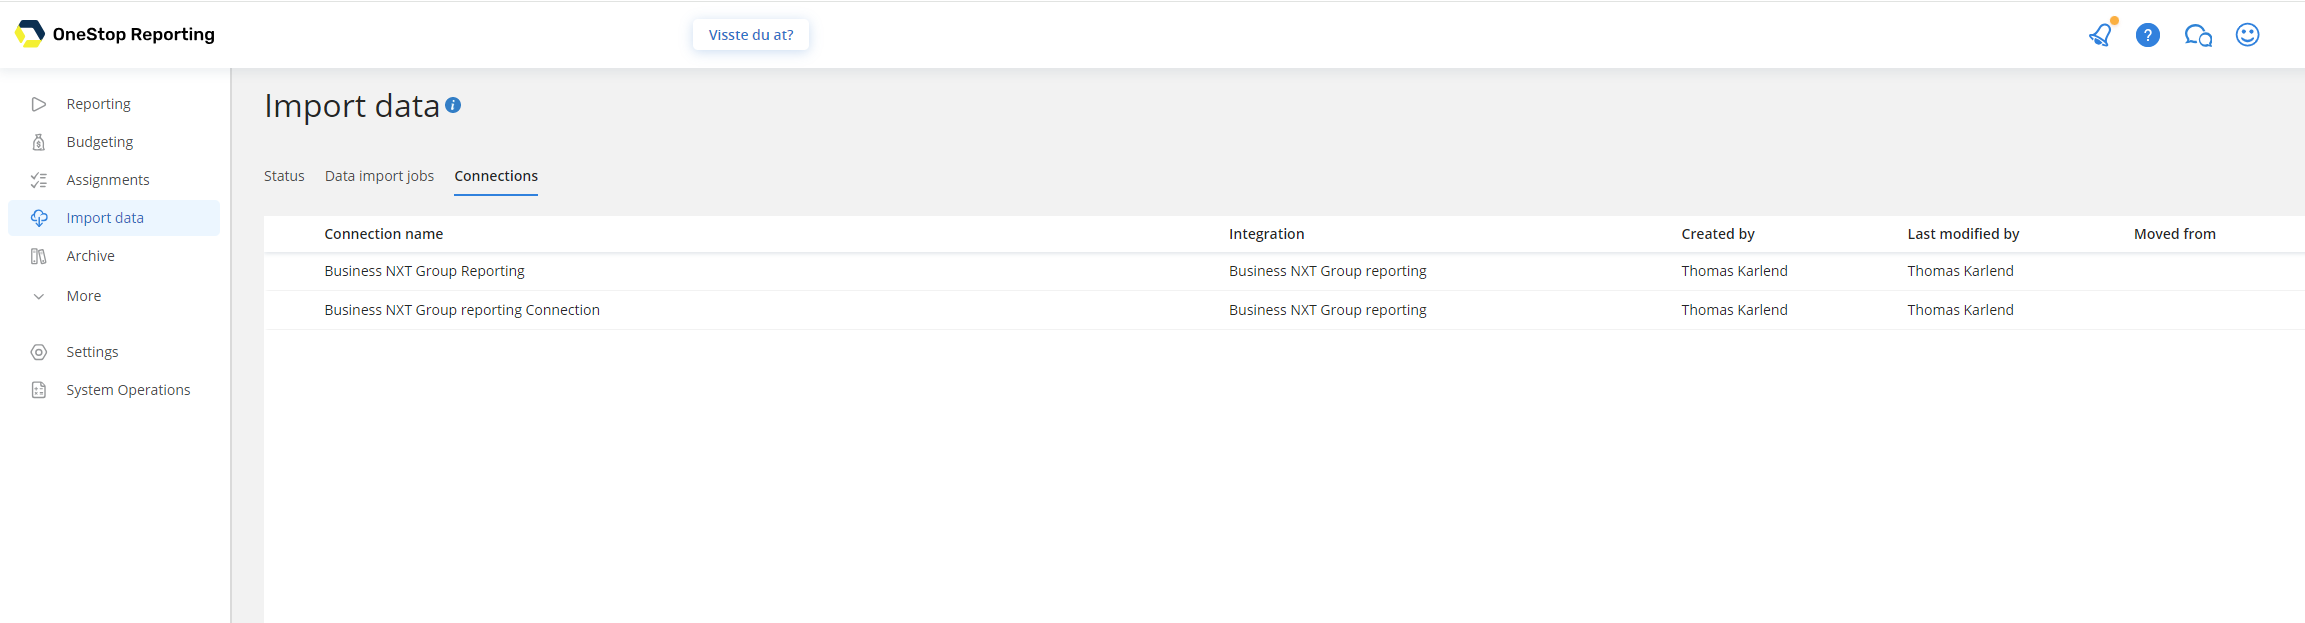
Click Connections.
Click + New
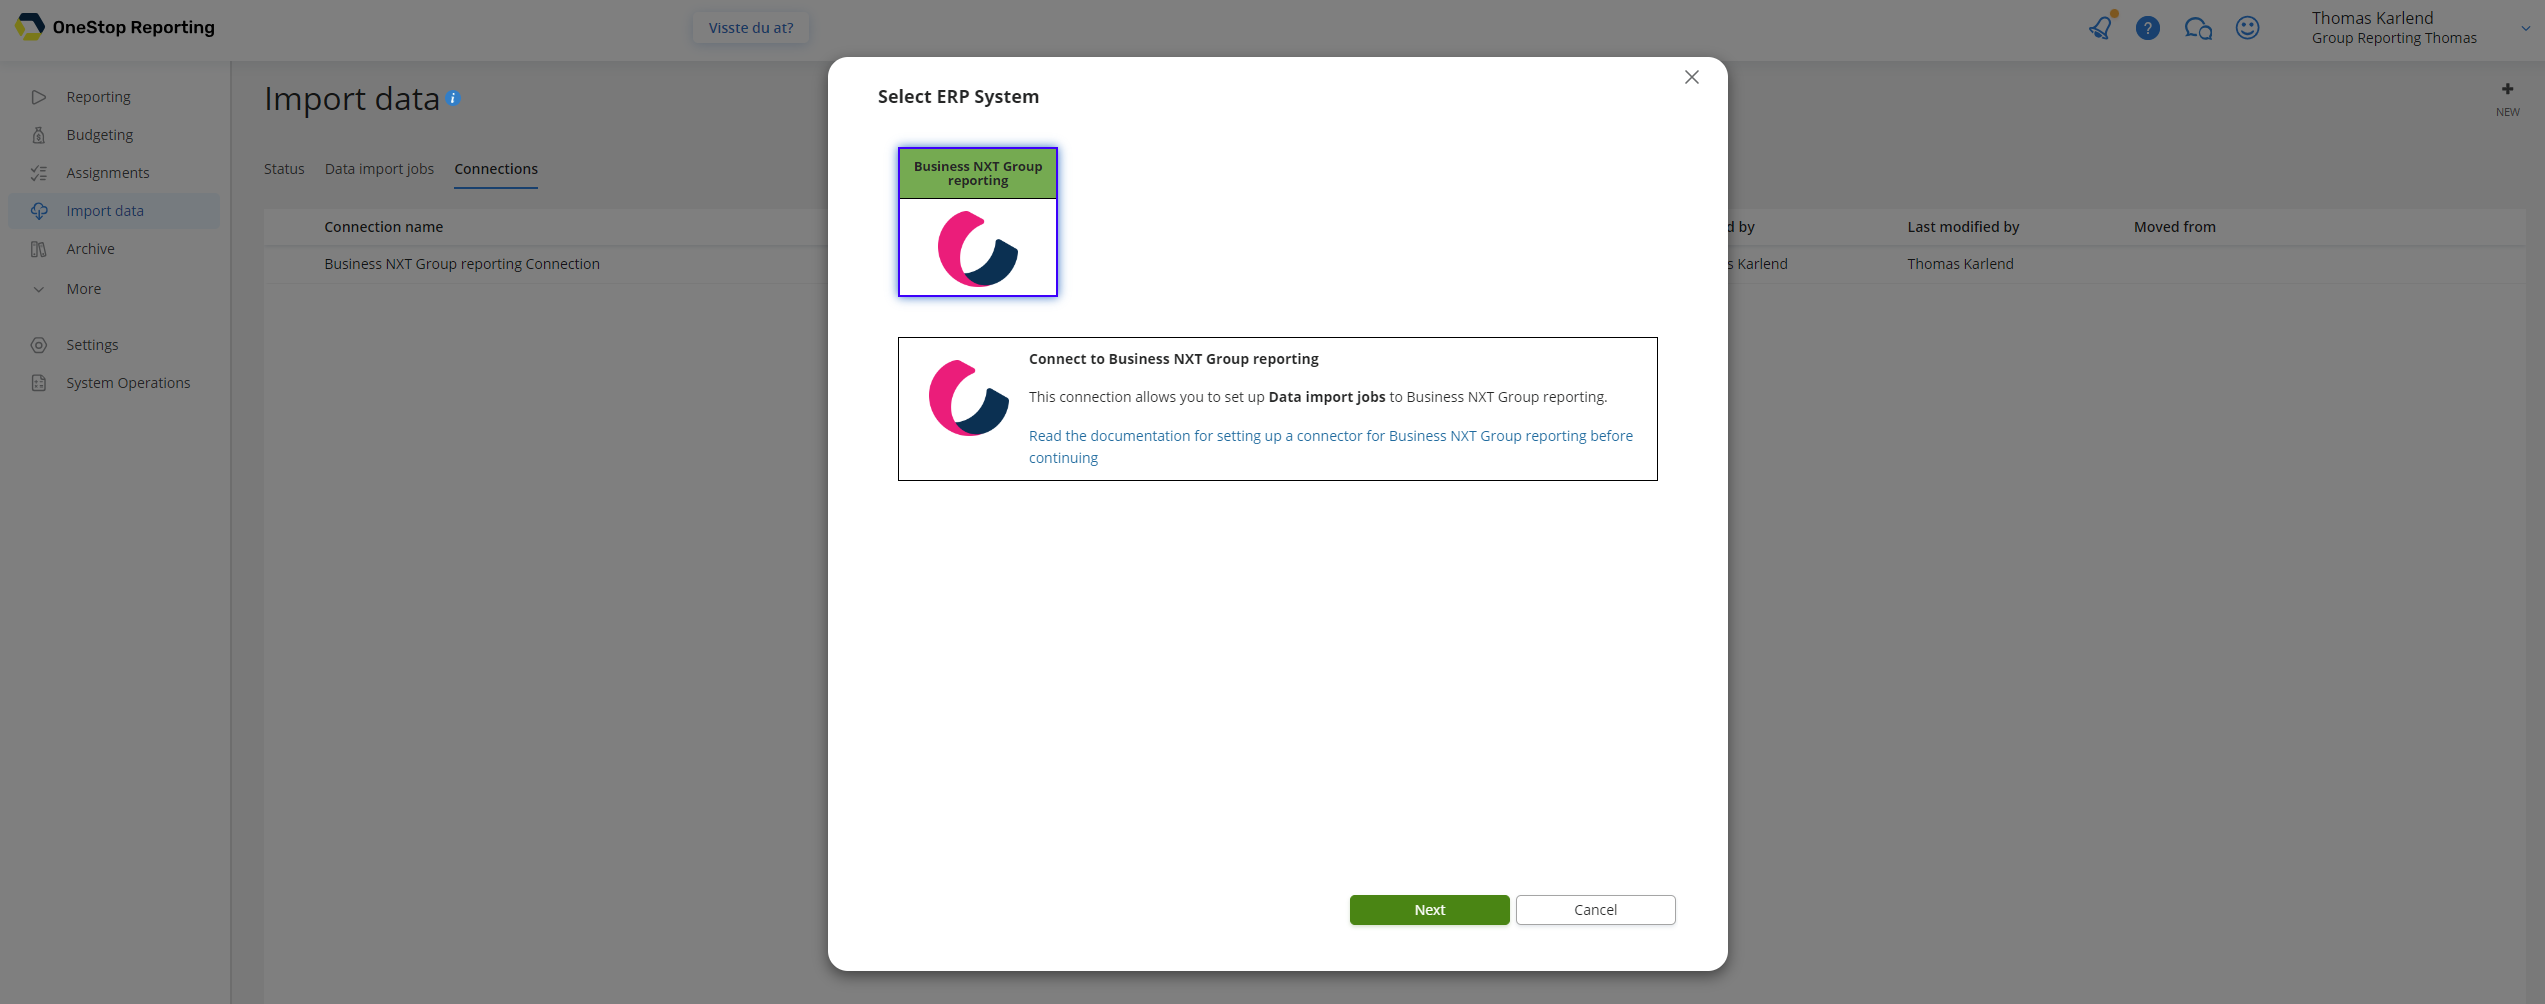
In Select ERP system, select Business NXT Group Reporting (if you have multiple options here).
Enter a name for the connection and click Connect to Business NXT.
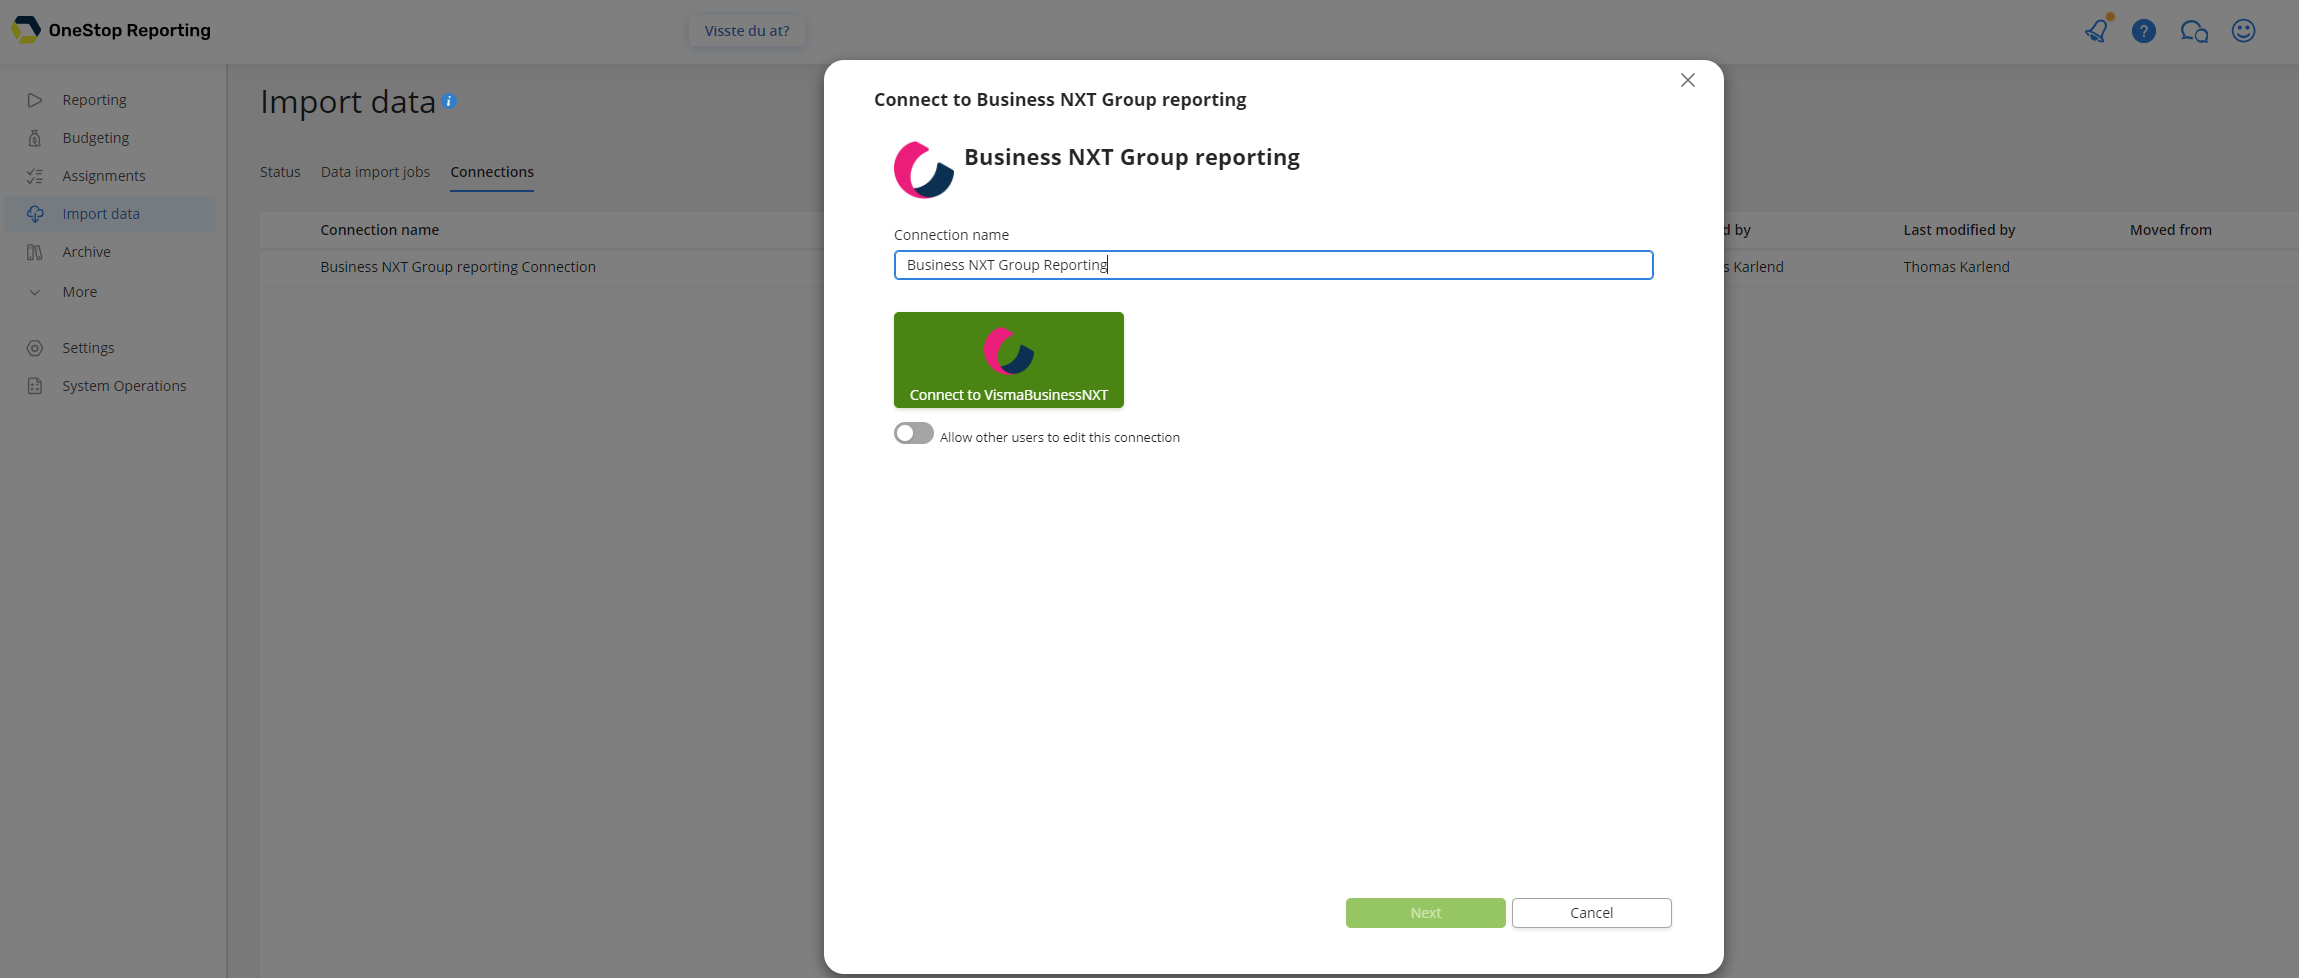
NOTE: If you want other users to be able to edit the connection, turn on the Allow other users to edit this connection switch. You should be careful about turning on this switch, as this enables all users with the Can manage connections permission to edit the connection and are able to see all companies in this connection. Even if the switch is off, administrators at the top level can still manage the connection.
Your user will now be authenticated to Visma Connect.
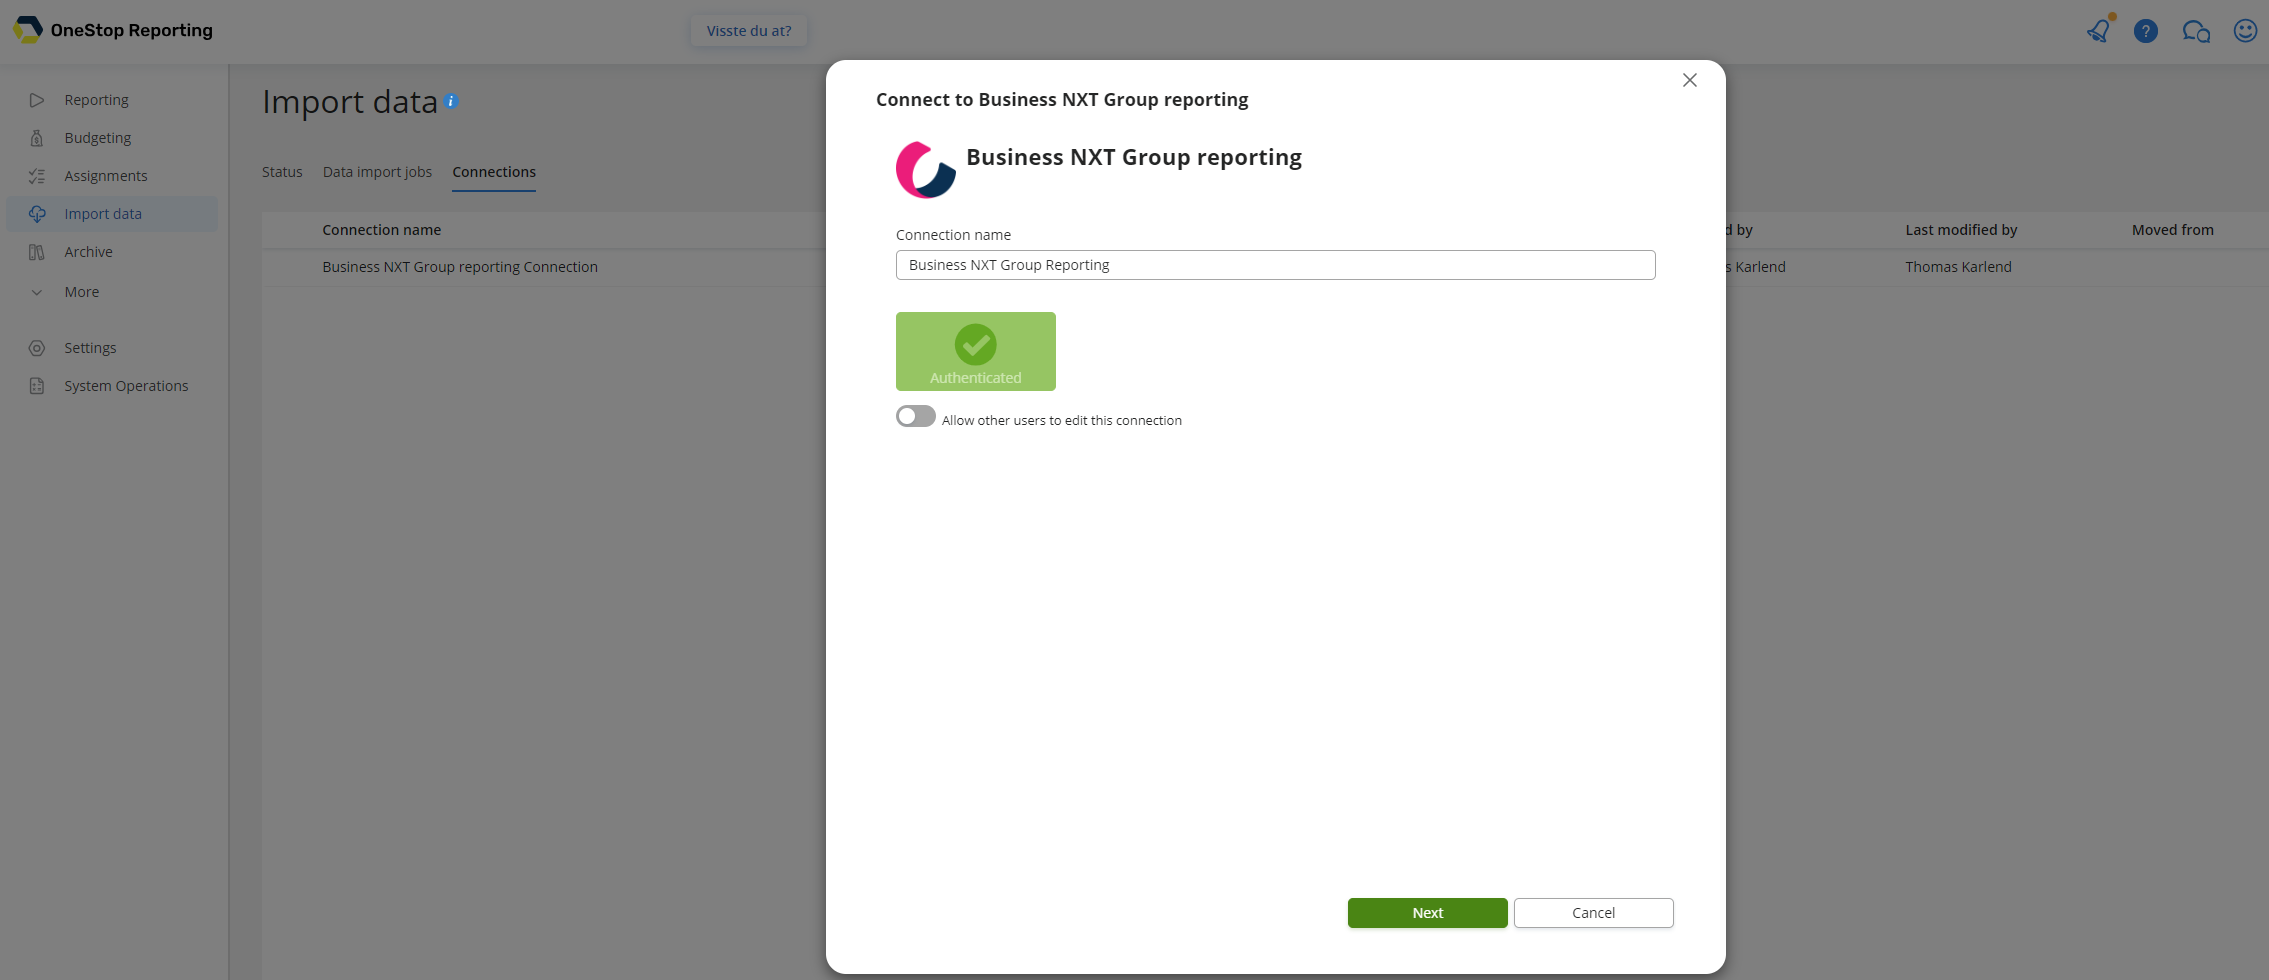
Select companies and click Finish.
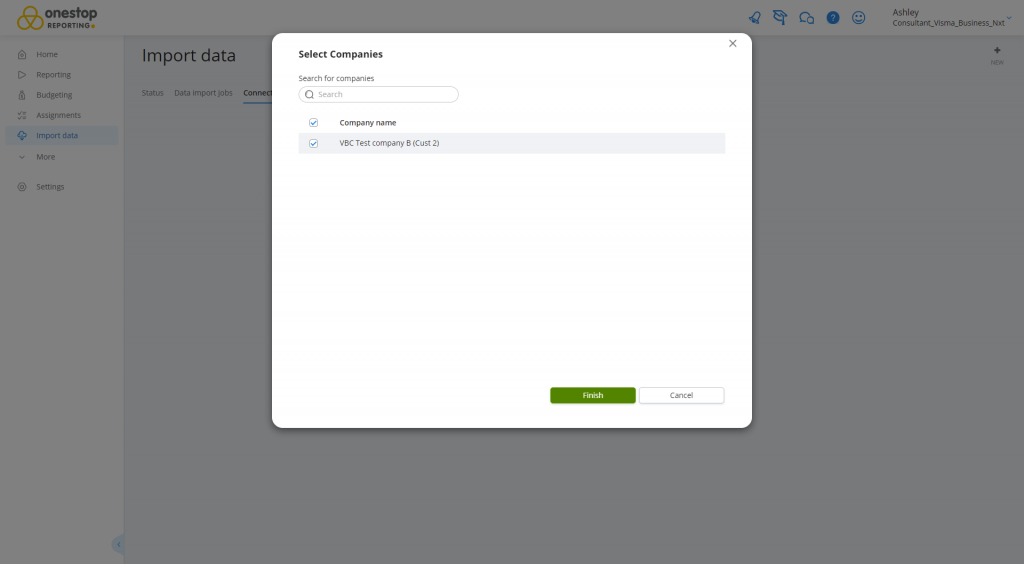
You have now created access to Business NXT.
The next step is to create Data Import Jobs to transfer data from Business NXT to the OSR Portal in order to start reporting and budgeting in OSR Portal. See Recommended data import jobs for the recommended jobs to create.
To create a new import job
Click Import data.
Click Data import jobs. Existing import jobs are displayed in the list.
Click
 New. The Select connection dialog is displayed.
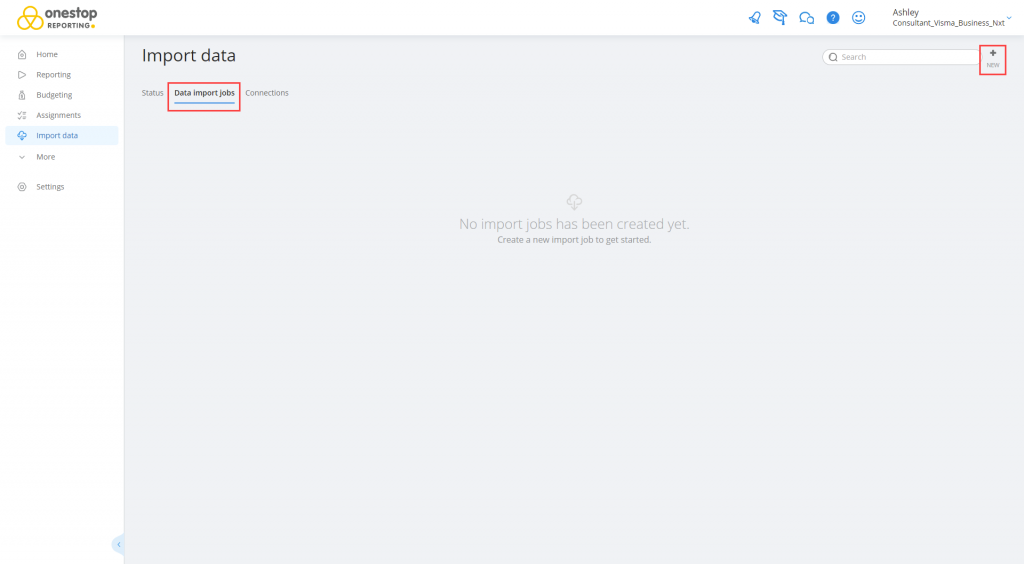
Select a connection.
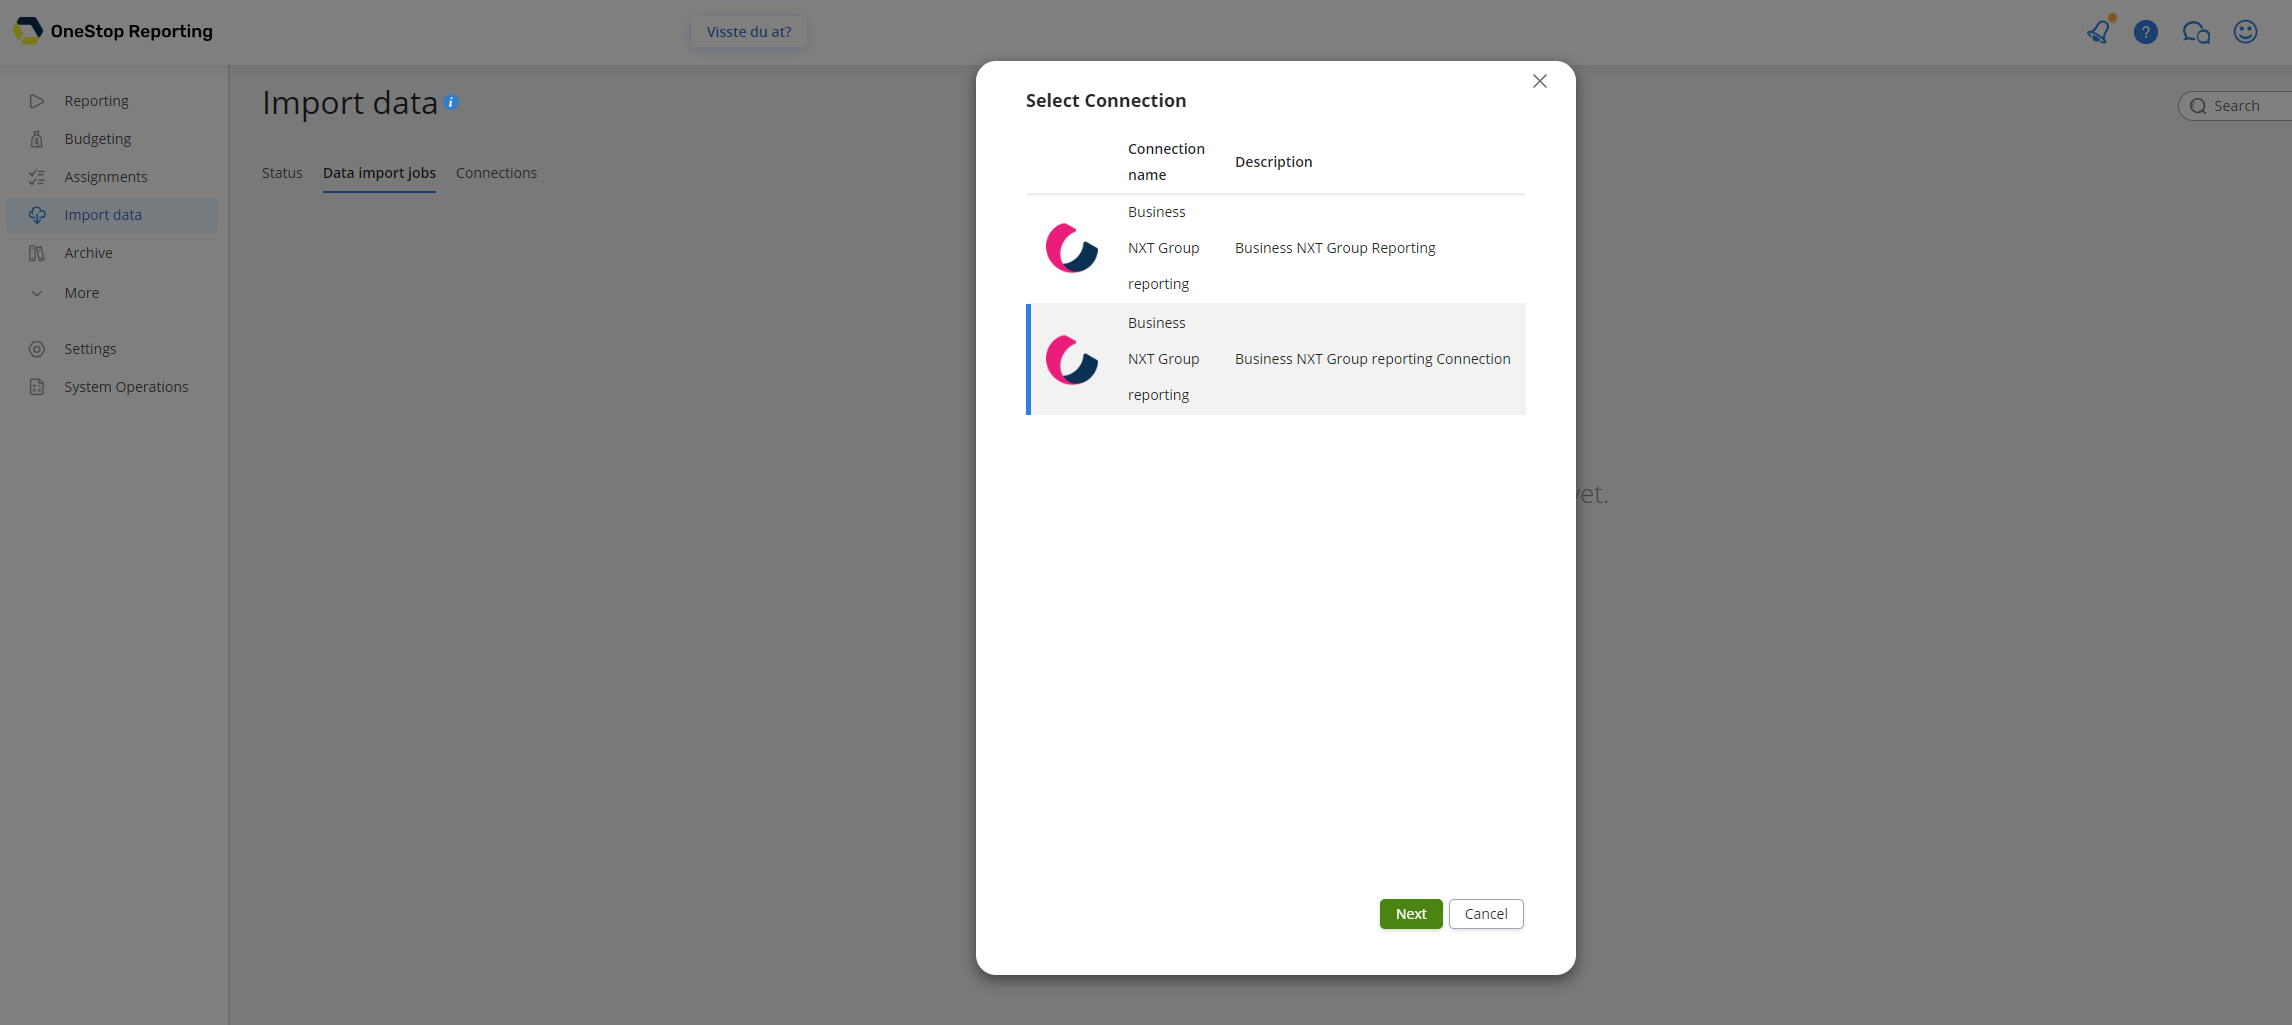
Click Next. The Select companies dialog is displayed.
Select (
 ) one or more companies.
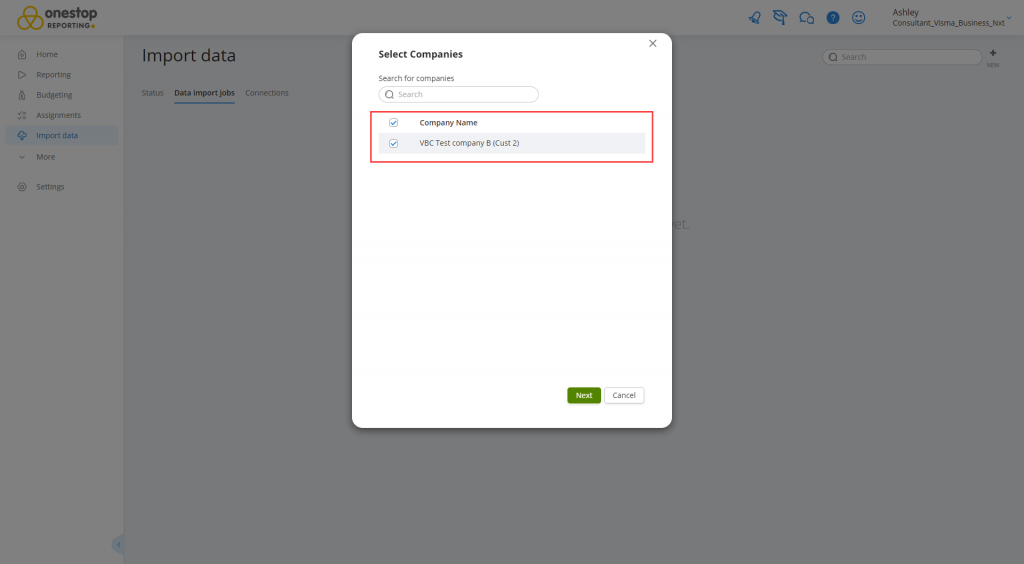
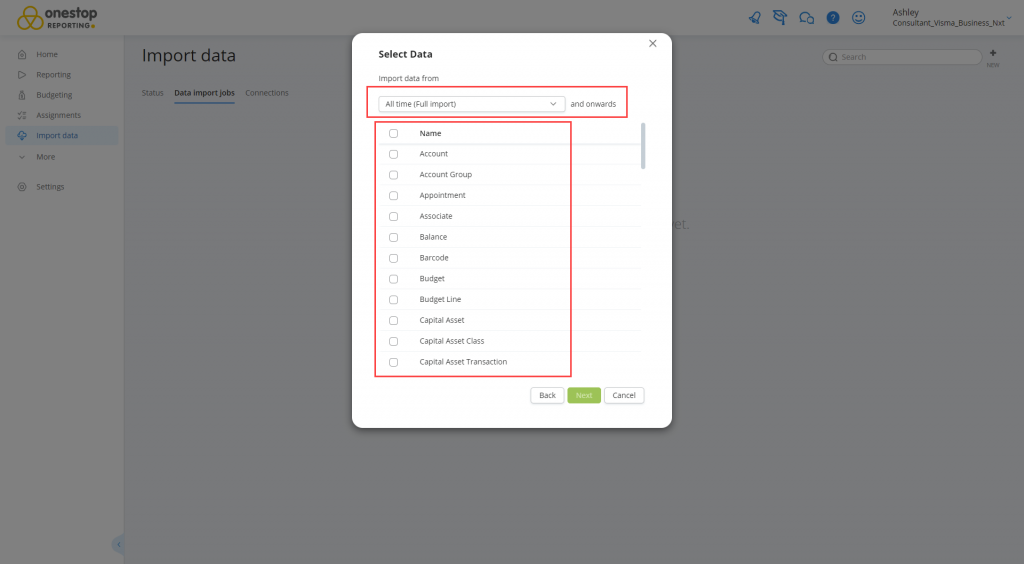
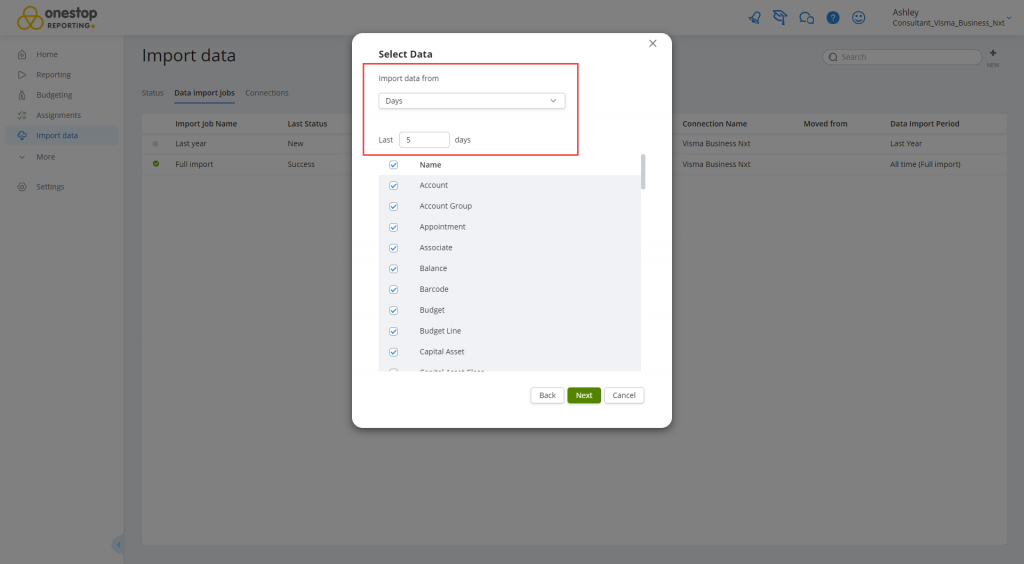
Click Next. The Select data dialog is displayed.
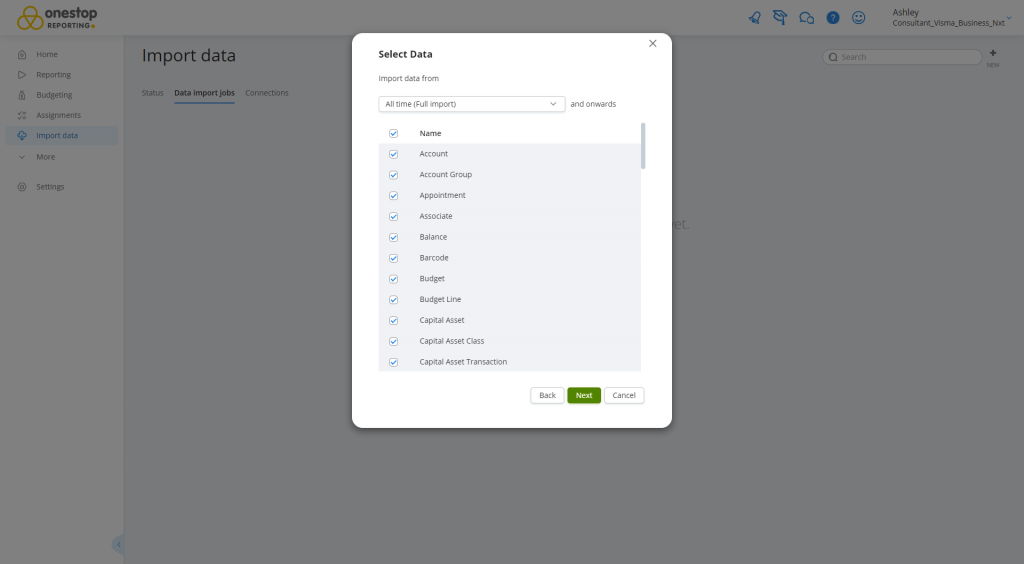
Select data to import. Please note that the import will take more time if you select many fields and a long period.
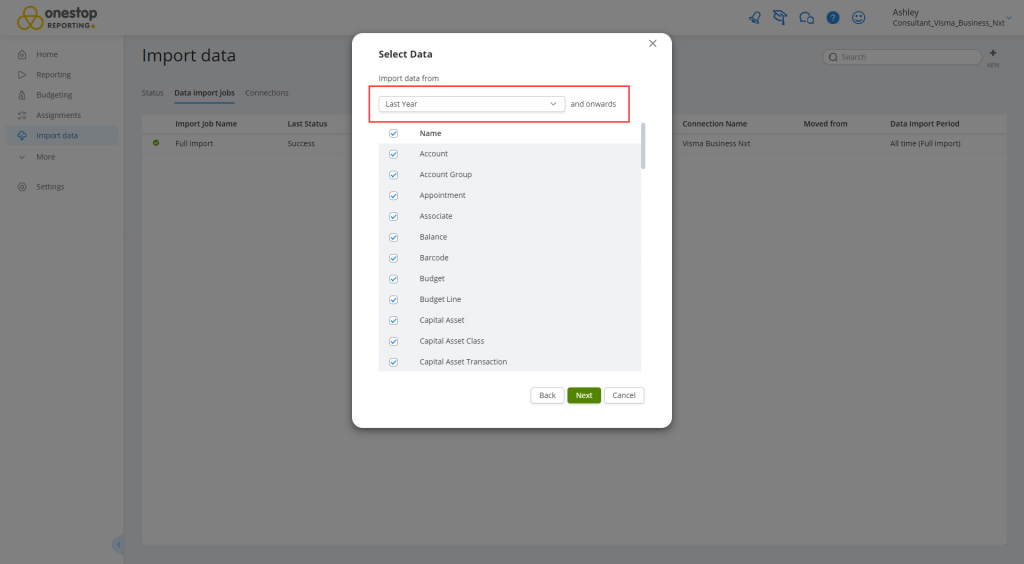
Select the period from which you want to import data.
NOTE: If you want to schedule the data import job, you must select the Days option and select an interval from 0-100 days.
Select the data set(s) you want to import.
Click Next.
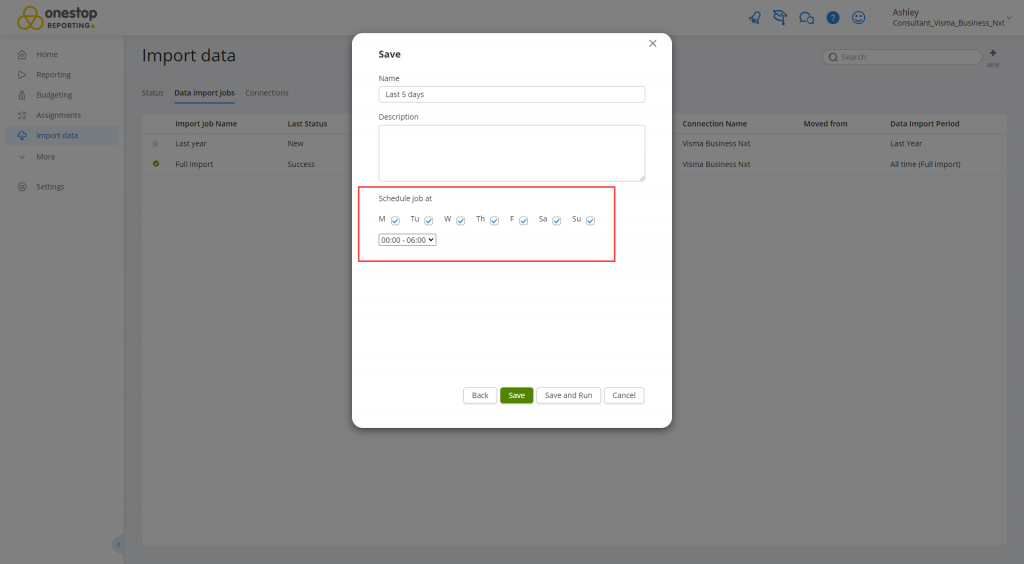
Enter a name and description for the job. To make it easier to identify this job in the job list, you should include the data set(s) and the period in the job name or description. Example: “General ledger transactions – Last year”
If you want the job to run automatically at specific intervals, you can specify this under Schedule job at.
NOTE: The scheduling option is only available if you selected the Days option and the number of days is no more than 5. Large jobs should generally be scheduled when few people are working in the system (nights/weekends). Scheduled jobs are indicated with
in the job list.
NOTE: If a data import job fails, the owner of the job will receive a notification.
Recommended data import job
We recommend that you create these three data import jobs:
- Data import from the beginning. (This import job is run one time the first time you log on to the Portal.)
- Data import from the beginning of the year. (You can manually run this job when needed. Do not schedule this job.)
- Data import from the last 5 days. (This job is scheduled to run every night.)
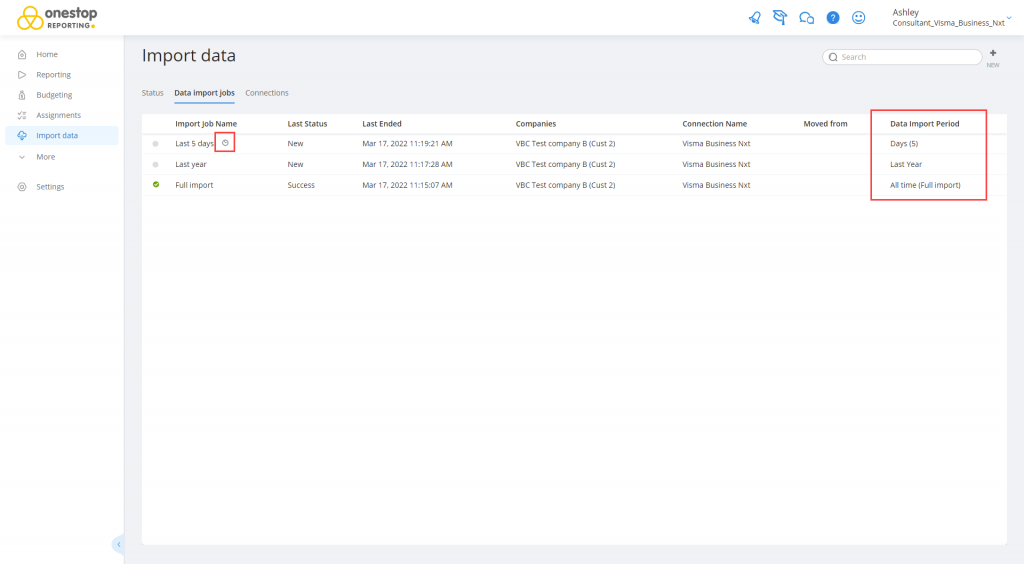 The three recommended data import jobs
Re-authentication every 30 days
Due to the setup of Visma Connect, you must re-authenticate your connection to Visma Business Nxt every 30 days. If you do not re-authenticate, the connection to Visma Business Nxt is broken and your data import jobs will fail. Consequently, the data in your reports will not be based on updated data.
To re-authenticate;
- Click Import data.
- Click the Connections tab.
- Click to select the Visma Business Nxt connection and click Edit.
- In the Connect to Visma Business Nxt dialog, click Edit authorization.
- Click Connect to VismaNet.
- Enter your Visma credentials and multi-factor authentication.
- Click Next.
- Click Finish.