Create a data import
How to Create a New Import
Important
Note that entries/transactions that are back-dated will not be imported into the system unless there is a data import job that retrieves for the period in which the change occurred.
Note
You can only create manual imports. Its not possible to create schedueled imports.
Click on Import Data.
In the Import Data module, you will see a list of all companies you have access to on the client you are logged into in OneStop Reporting. You can also set up an import for multiple companies simultaneously, but all companies must have the same integration (ERP system).
- Select the company you wish to import data for.

- Click on Import Data.
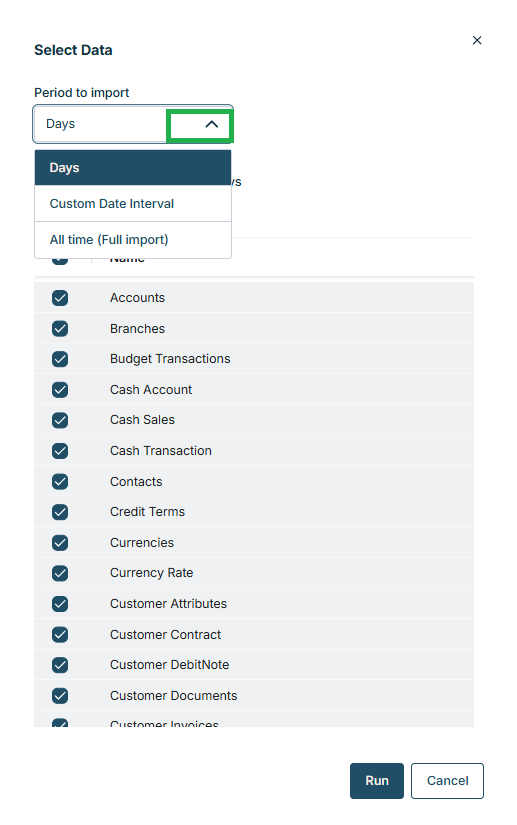
- In the window that appears, you must select the endpoints you want to import data for, and the period to be imported by clicking in the dropdown box shown below.
Here you can choose between the number of days, since the beginning, or set up a custom date interval.
4. Click Run.
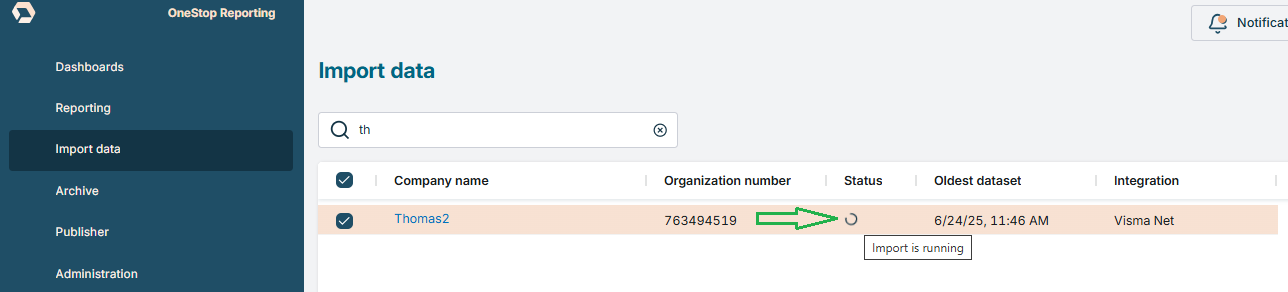
5. You have now started an import.