Group administration
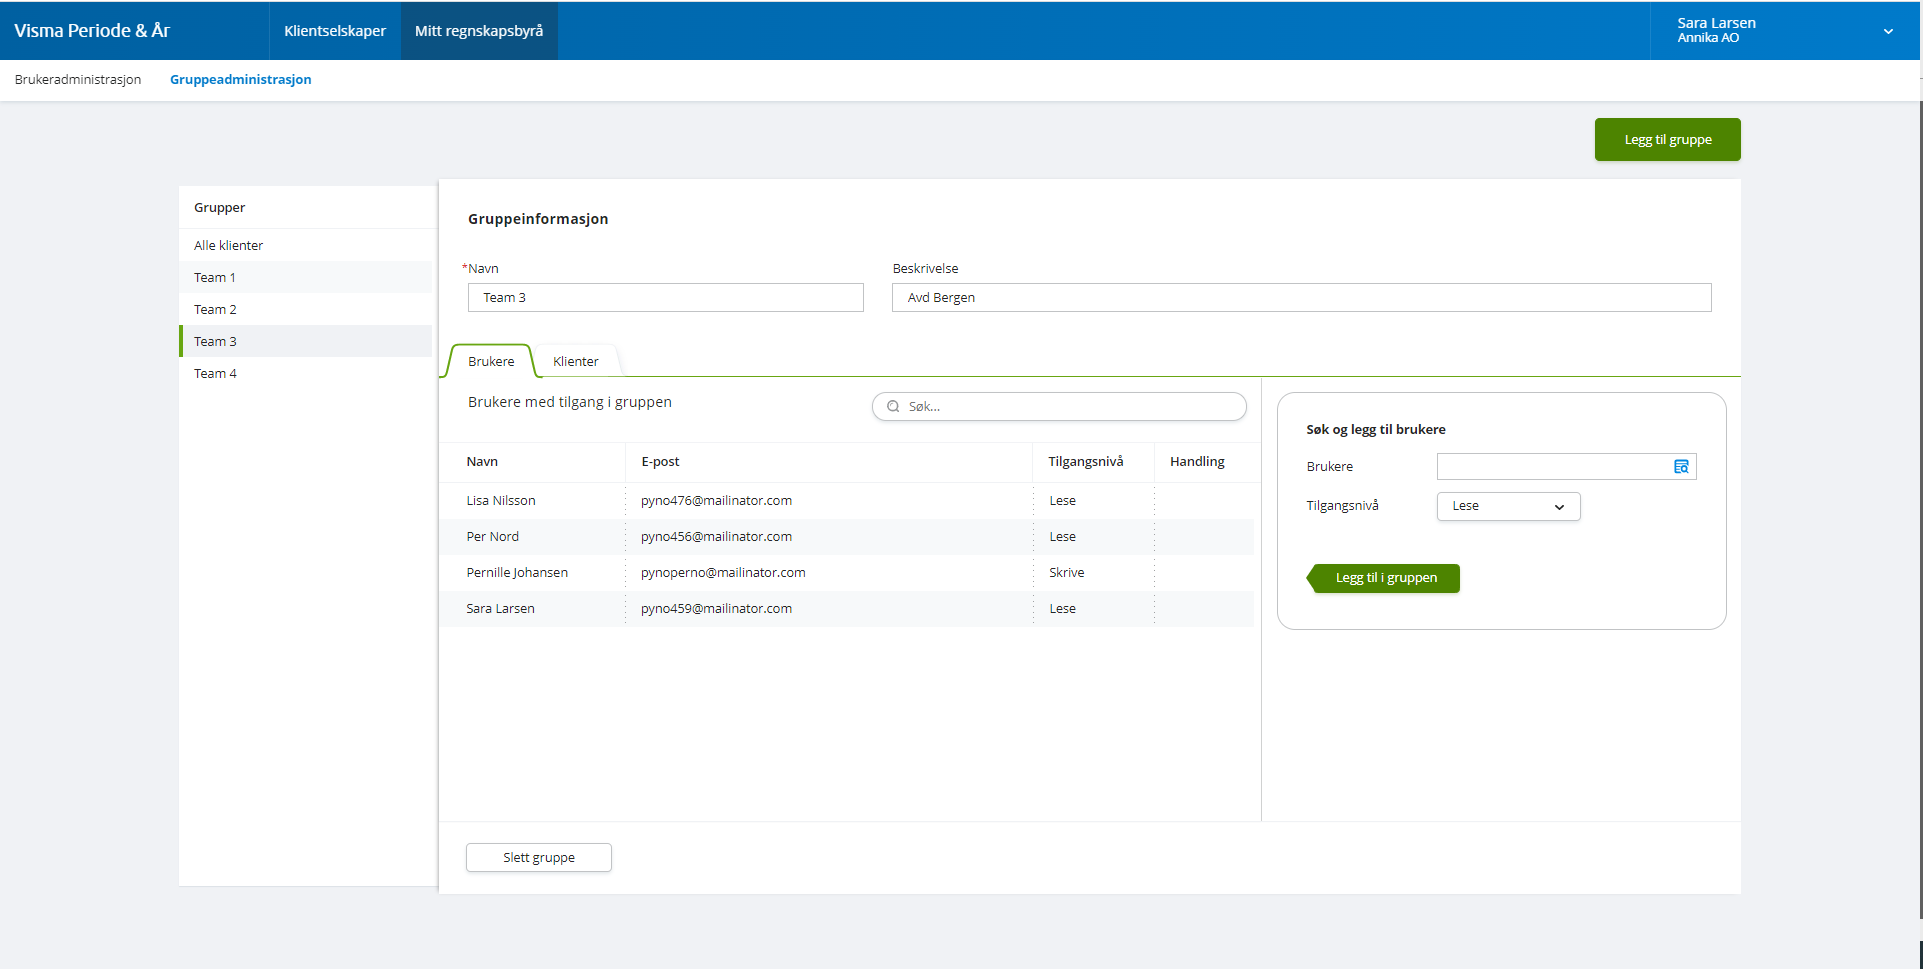
The group administration page can be found in the menu My accounting office - Group administration and is split in two parts. The list with groups is available to the left and details about the selected group to the right.
Groups are used to manage which client companies different users should be able to access and with what access level.
The group 'All clients'
Period & Year has ha default group called 'All clients'. Every client that is created in the system will belong to this group. This is a default group which can’t be deleted. If you only have need for simple access control, you will manage with this group, by giving users read or write access to the group.
You can change a users access level to this group from user or group administration.
Add a new group
You can create a new group by clicking on the Add group button in the top right corner in the menu My accounting office -Group administration.
A dialogue will open and you can fill in group details such as a group name and a description of the group.
A group that is created will by default not have access to any clients. You can add client companies to the group from the client search box in the Clients tab.
Access to the group is given by adding users as members in the group. For each user you can select read or write access to the clients in this group.
User access for a group
User access is given to a user by selecting a group on the left side to open the group details for the selected group. On the right side you will see which users that have access to the group and read or write access for each user.
You can also give a user access to a group from the menu User administration.
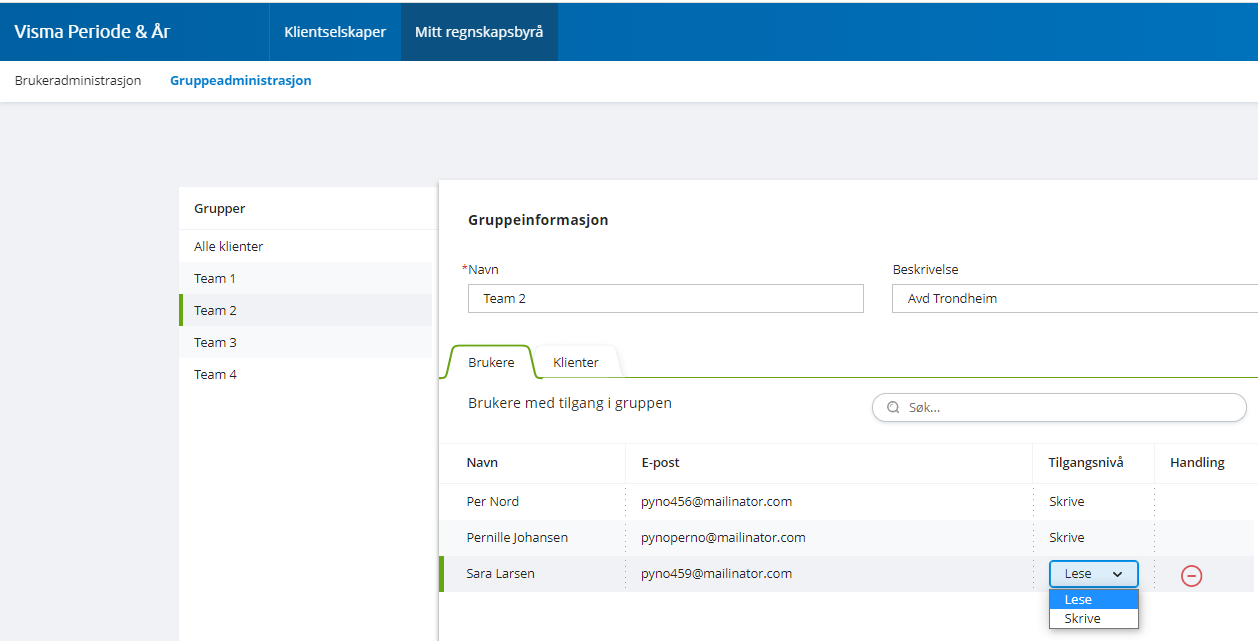
Edit existing user membership
You can edit user access for members in the group by changing access level in the Users tab in Group details. You can also remove a user from the group by hovering over the row and click remove.
Add user in a group
You can add one or multiple users in a group by typing the users name in the search box to the right. Select access level and add the users to the group by clicking the Add to group button.
Read more about user administration.